

Why the funny name? The blue fabric was labeled as "Peter Pan," Why? I have no idea. So when I went to label my newly made pattern, I knew that if I labeled it Peter pan dress I would always remember what dress it was. Then the name just stuck. It does not remind me of Peter Pan at all and I can't for the life of me figure out why the words "Peter Pan" were stamped on the selvedge edge. But there you go. Peter Pan Dress! I originally planned on making the dress all blue and then having the yellow tie around the waist, but the fabric wasn't wide enough to do that and so in order to extend it, I made the yellow pleats. It actually worked out really well because I was trying to figure out some way to incorporate the yellow in somewhere else. I also learned a valuable lesson in making this dress: When making a buttoned back, the fabric in the back needs to be longer (wider) than the front piece. Hence the yellow fabric on the inside of the button holes. I'm learning. Here's the fabric before:

So first of all I traced the top of an existing dress, Making it slightly larger, to compensate for seams.
Remember to make the back piece about 4 inches wider to allow for the fabric to be folded and then overlapped for the buttons. (Wish someone had told me that. But that's what I get for flying by the seat of my pants) Ha HA Peter Pan after all!

Then, I knew I wanted sleeves on this dress. I hate that almost every dress in Lilly closet is a tank top dress and we have to put shirts underneath. So I drew a sleeve shape, on a folded piece of paper based on the existing dresses arm hole. See below.
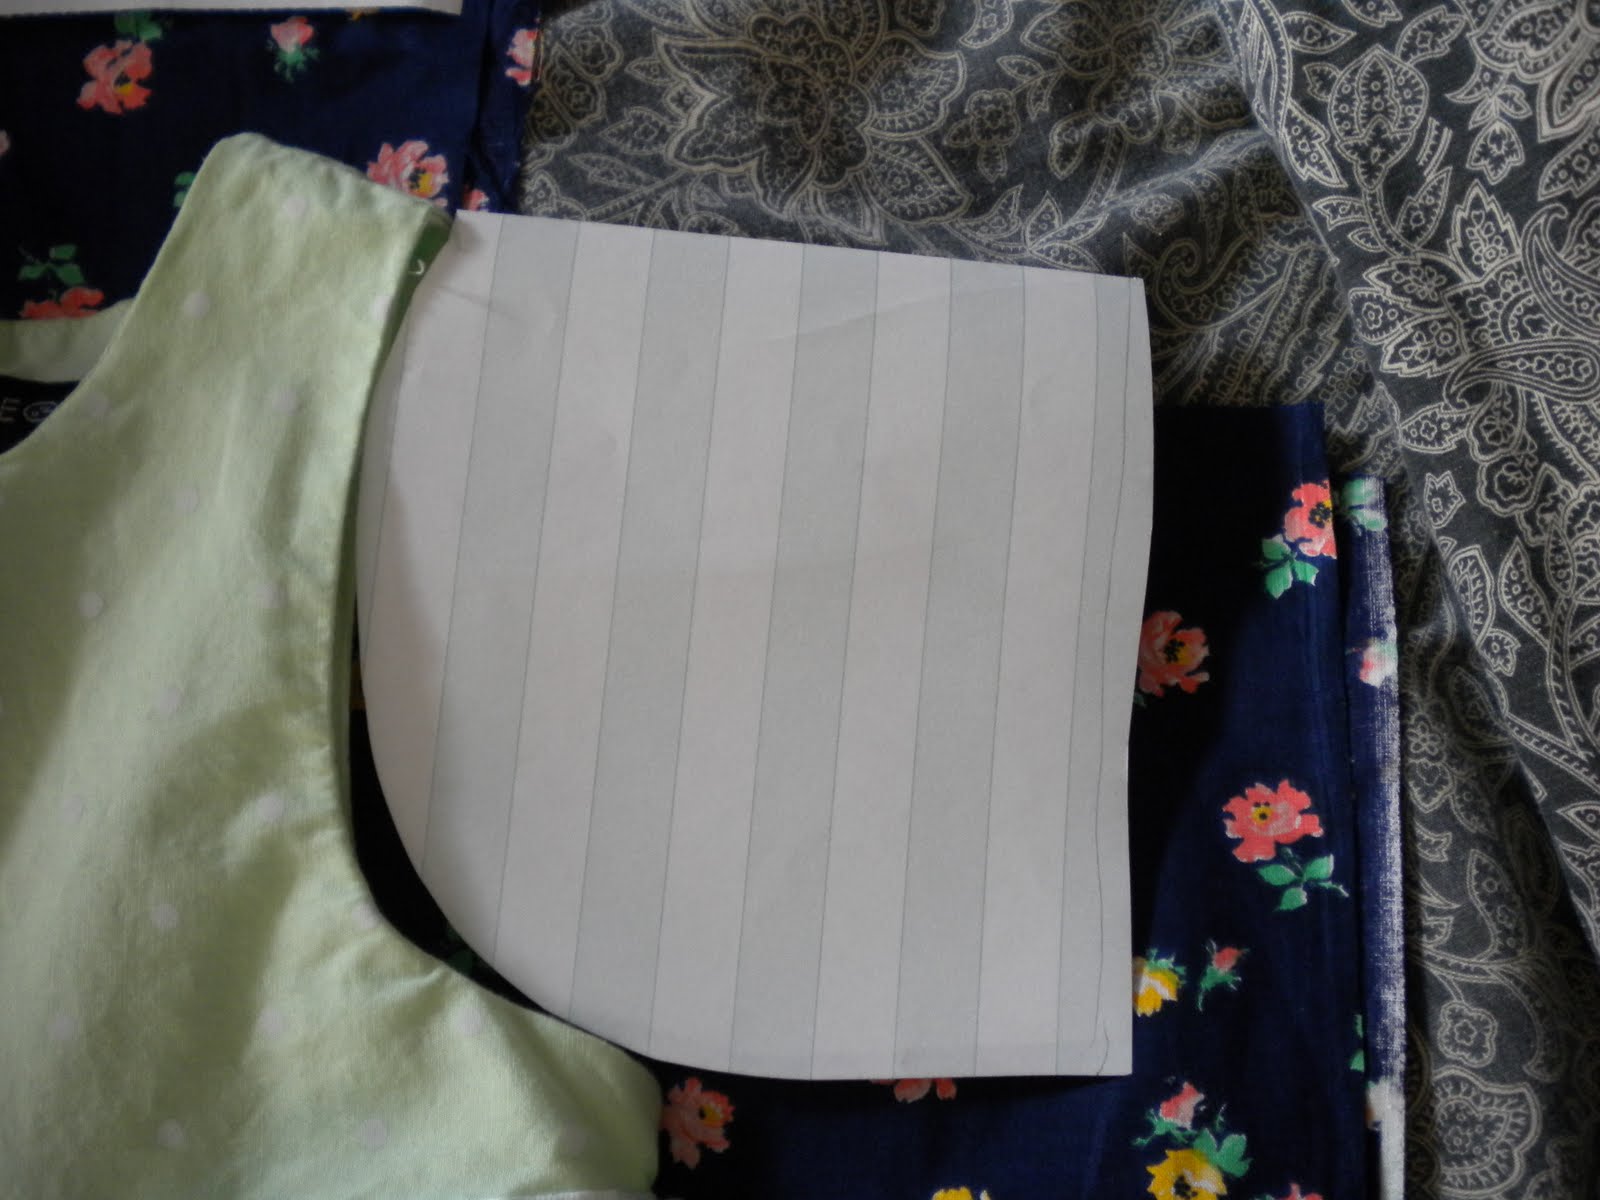
Open it up and you have a sleeve! I had to round out the under arm piece so it didn't look like the top of a heart.

I then laid the bottom of the dress on the fabric and cut out a square piece ( To allow for it to be gathered.) This is where I learned the fabric wasn't wide enough.

So I cut out 6 pieces of the yellow gingham fabric (3 for the front and 3 for the back) They were each 4 inches wide and 22 inches long. I cut 6 pieces of the blue flowered fabric. It was 7 inches wide by 22 inches long.

I then sewed them together length wise, alternating blue and yellow. I ironed the seams and then it was time for the pleats. I folded the blue fabric over onto the yellow fabric meeting in the middle of each yellow piece and pinned it.

1) Sew shoulder seams together with right sides together.
2) Step shows the way I made mine which is wrong and the Right Way which would be to extend the middle portion on EACH piece by 2 inches.
3)Sew the sleeves on, right sides together.
4) Sew the under part of sleeves and down the side seams of shirt. (I also added elastic to the sleeves)
5) Again, this shows the way I did mine (which I wouldn't suggest. ) I added a piece of yellow fabric to extend the piece so I could fold it over.
If you did this right, you would just fold and press each side of the back piece, under 1inch.

6) sew on button holes and buttons
7) Take the skirt piece and gather it by sewing a basting stitch along the top edge and pulling one piece of the thread and sew it on to the shirt.
8) Hem the bottom


For the tie, I cut a piece 6 inches wide by about 55 inches long and sewed it length wise, right sides together and then turned it back right side and then folded in and sewed the ends and tied it around her waist.


No comments:
Post a Comment