
I've been seeing these Chevron stripes everywhere. But I've not seen any skirts made like this. (I apologize to anyone if you have made one. I just haven't seen any. I was inspired by this WRISTLET. When I saw it, I immediately thought of the striped material (pictured below) and this SKIRT I had made with it and my mind put the two together and the idea was born. Here's how to make one.

Then I cut out 2 pattern pieces, each 5 inches wide by about 24inches. (Or however long you want your skirt. I used a thin, see through paper that is used for covering charcoal and pencil drawings. Tracing paper would also work. Also make sure you add enough to the length of your pattern to allow for a hem and casing for elastic.
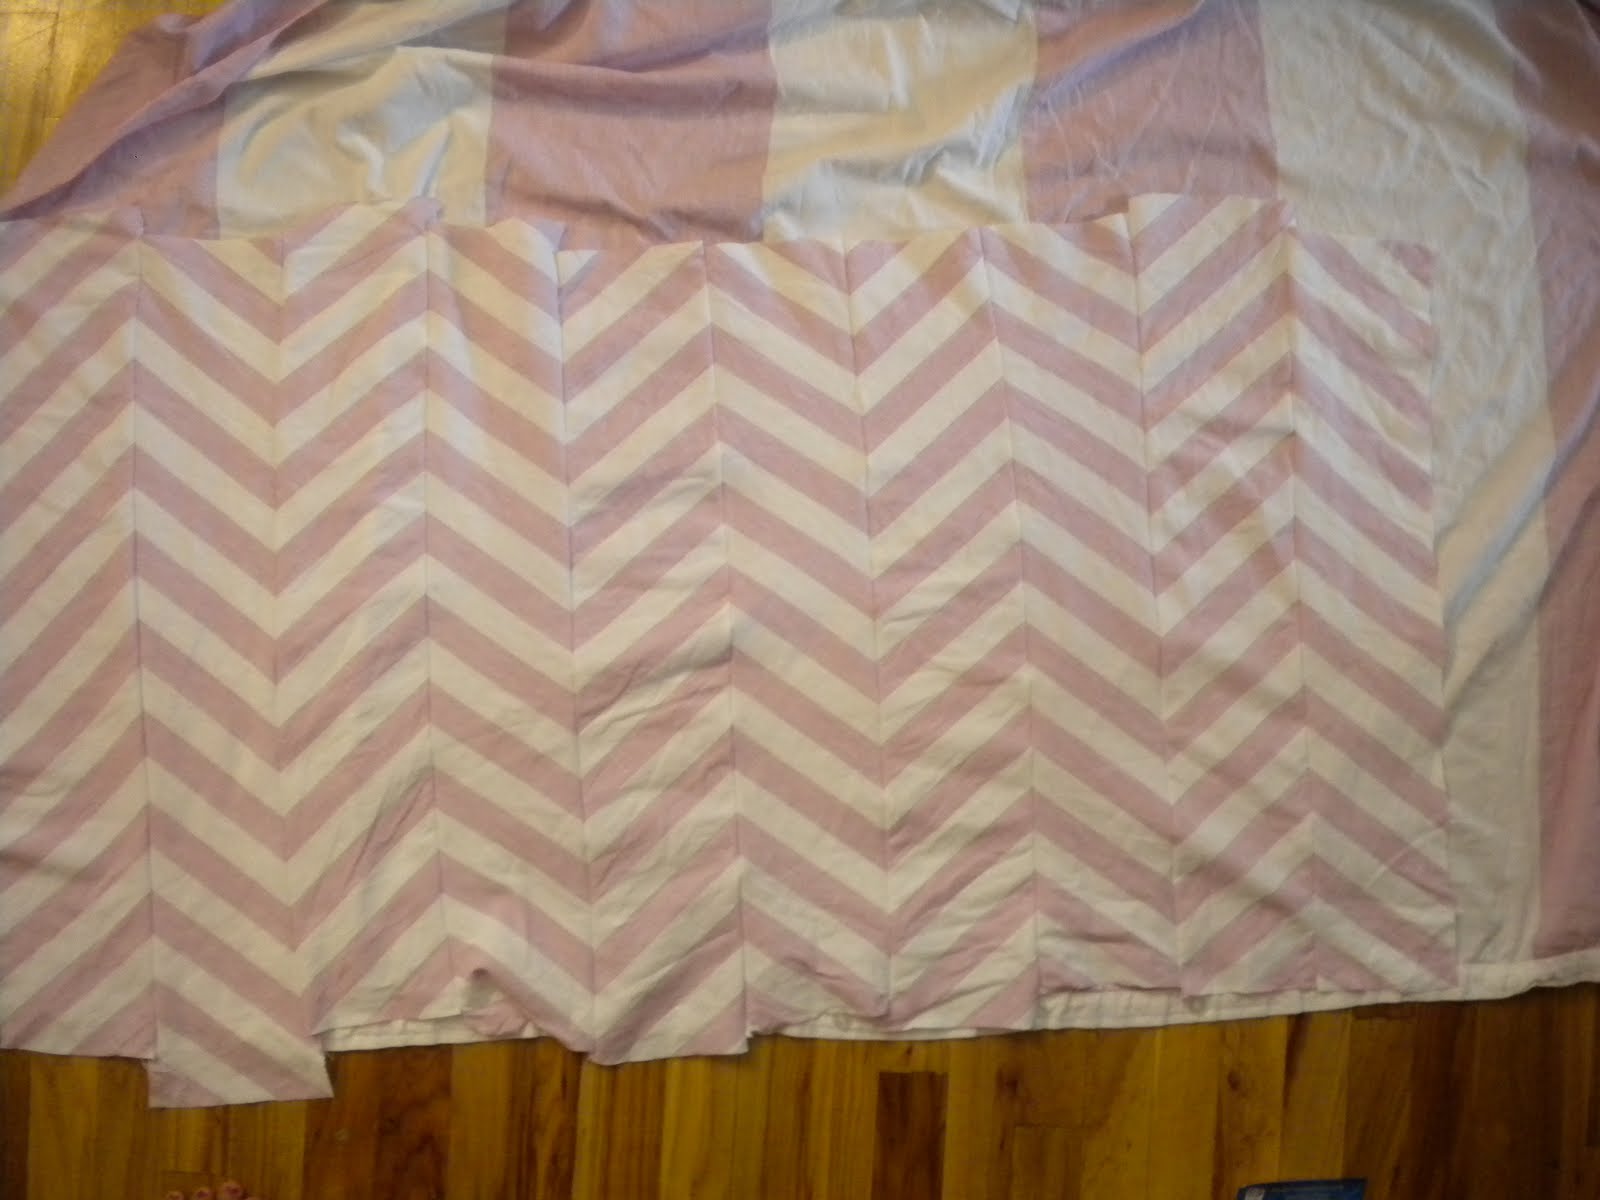
I laid the cut out pattern, diagonally on the fabric and and traced the lines of the stripes. I made one pattern piece for the diagonals slanting right and one for the diagonals slanting left. Line up the lines each time.

Then I started cutting. After I cut the first piece, I just laid the piece I had just cut out, on top of the fabric, lining up all the stripes and then cut out my next piece. Or you could continue using the pattern.
I cut 5 of each pattern piece. So 10 in all. For a fuller skirt you could cut out 6 of each. That was my plan originally, until I realized that the striped material (that was originally a buttoned, fitted ,queen sized bed sheet). That was a lot of description. Anyways it was pieced together down the center of the fabric and so the stripes were slightly off so I couldn't use the center of the fabric. And I only had enough for 5 of each pattern piece.

My fabric was too thin to be able to wear without a slip or something underneath, so I made mine reversible.
If you don't want yours reversible, you could just finish the skirt like I did in this tutorial :Easy Spring Skirt.
For a reversible skirt I laid my chevron stripes on top of the fabric to be used for the reversible side. (The opposing side to to the fitted sheet.)
Then I cut it out and sewed the two together on one of the lengthwise edges This is how it will look after sewing:

Next, fold your fabric in half, right side together (lengthwise) like the picture below:
Sew along the open end, making sure to align your stripes.


Now we'll sew the elastic casing.
This is a little different than the regular way. It allows for the elastic to be in between the two layers of fabric.
Pin together the two fabrics and sew all the way around. You'll start sewing down about an inch Or however wide your elastic is. This will be the bottom of the casing for the elastic.

You can see a little better in this picture. After you've sewn the line around the skirt that is down a inch, you'll sew another line right at the top. About an 1/8 of a inch from the top or so. Make sure you leave an opening for the elastic.
Put a safety pin on one end of the elastic and thread it through the casing. Once it's all the way through safety pin the two ends together and try it on. Make any adjustments you need and then sew the elastic together. I usually make 3 or 4 passes. Make sure the elastic isn't twisted before you sew. It's no fun to un-pick 3 or 4 passes of stitches. I've learned my lesson!
The last step is to sew the casing closed. You'll probably have to pull the elastic tight to do this.

I look really angry in this picture. My daughter took some pictures of me and this was the only one that wasn't blurry.

Here's the reverse side:

Cute!
ReplyDelete